
How to Remove Gel Nail Extensions Safely at Home (Complete Step-by-Step Guide)
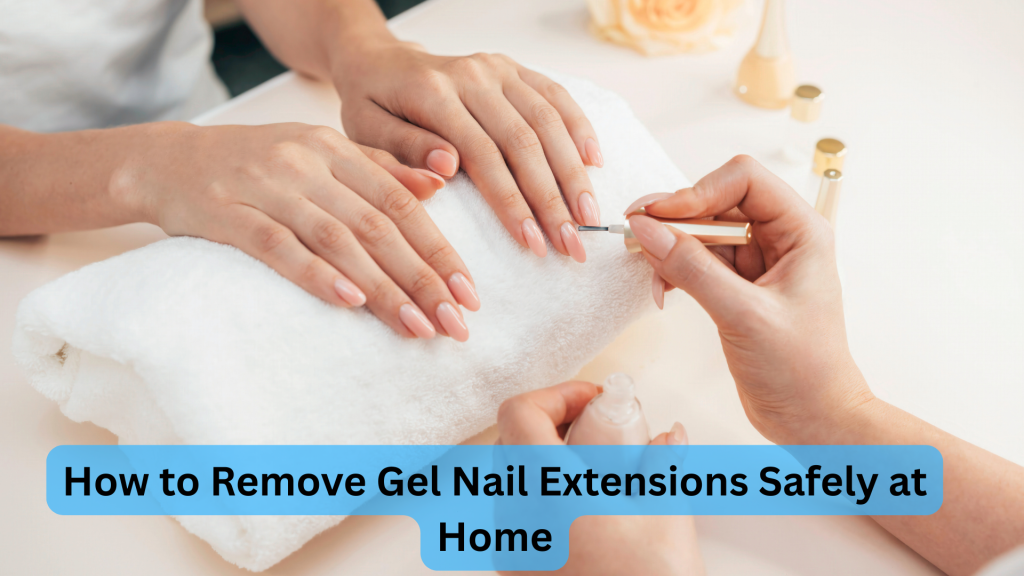
Removing gel nail extensions the wrong way can seriously damage your natural nails. If you don’t want to visit a salon, learning how to remove gel nail extensions safely at home is essential to keep your nails healthy, strong, and break-free. This complete guide walks you through professional-approved removal methods, common mistakes to avoid, and proper aftercare. Why Proper Removal of Gel Nail Extensions Matters Gel nail extensions bond strongly to the natural nail. Pulling or peeling them off can: Correct removal protects your natural nails and prevents unnecessary damage. What You’ll Need Before Removing Gel Nail Extensions Essential Tools How to Remove Gel Nail Extensions: Step-by-Step Step 1: Trim the Length Use a nail cutter to shorten the extensions. Step 2: File Off the Top Layer Gently file away: Do not file down to the natural nail. Step 3: Soak Nails in Acetone This softens the gel for easy removal. Step 4: Gently Push Off the Gel After soaking: If it resists, re-soak—never force it. Step 5: Buff Residue Lightly Use a buffer to smooth remaining gel. Alternative Methods to Remove Gel Nail Extensions Using an E-File (For Experienced Users) Using Gel Removal Kits Pre-packaged kits include: Great for beginners who want safety and ease. Common Mistakes to Avoid This removes layers of your natural nail. Leads to thin, sensitive nails. Causes dryness and weakness. Aftercare: How to Restore Nails After Gel Extensions Immediate Nail Care Long-Term Nail Recovery Tips How Often Can You Remove Gel Nail Extensions? Frequent gel removal can weaken nails. For healthy nail growth: When to Visit a Salon Instead Choose a professional if: Wrap-Up Learning how to remove gel nail extensions properly saves your natural nails from long-term damage. With patience, the right tools, and gentle handling, you can safely remove gel extensions at home without harming your nails.